Computer-Controlled Cutting
1 - Nice to meet you, JADE.(Group Assignement)
2 - I like your Silhouette (Vinyl-Cutter)
3 - Go Cut some Stuff (Press-Fit Kit)
Create.
For the last part of this week assignement, i have to design a parametric construction kit, which can be assembled in multiple ways.
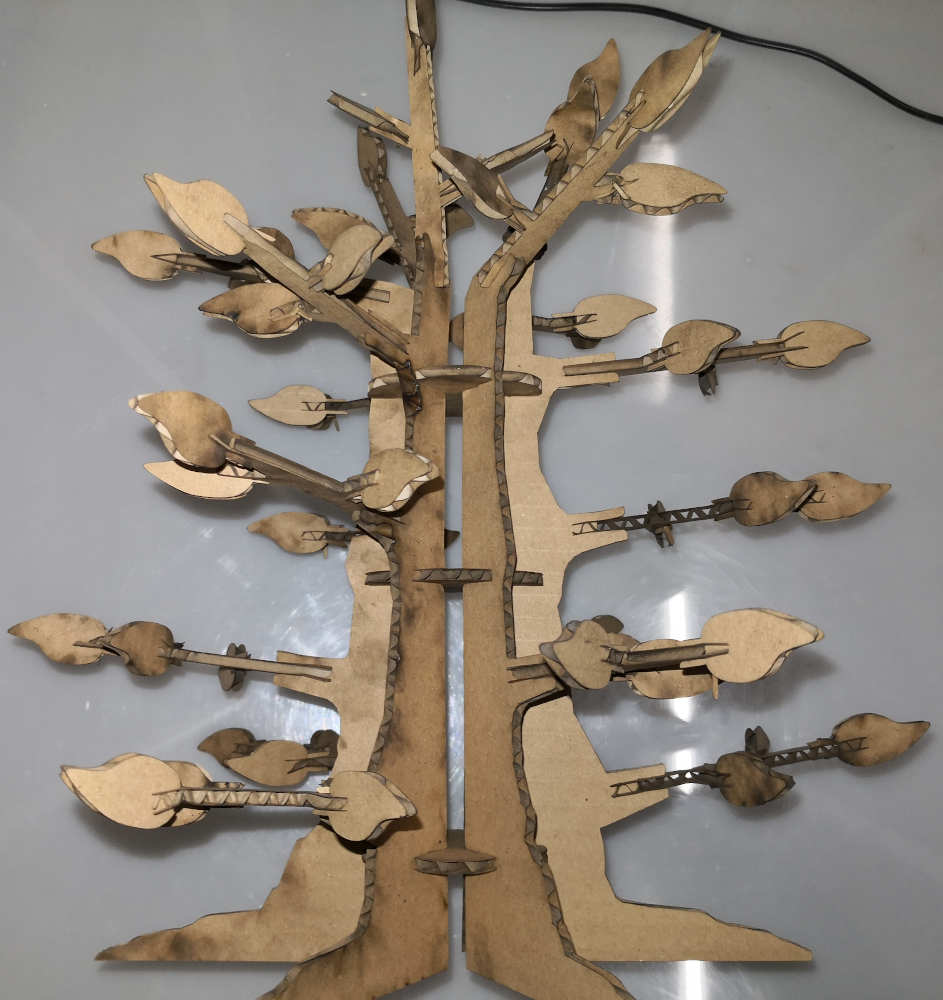
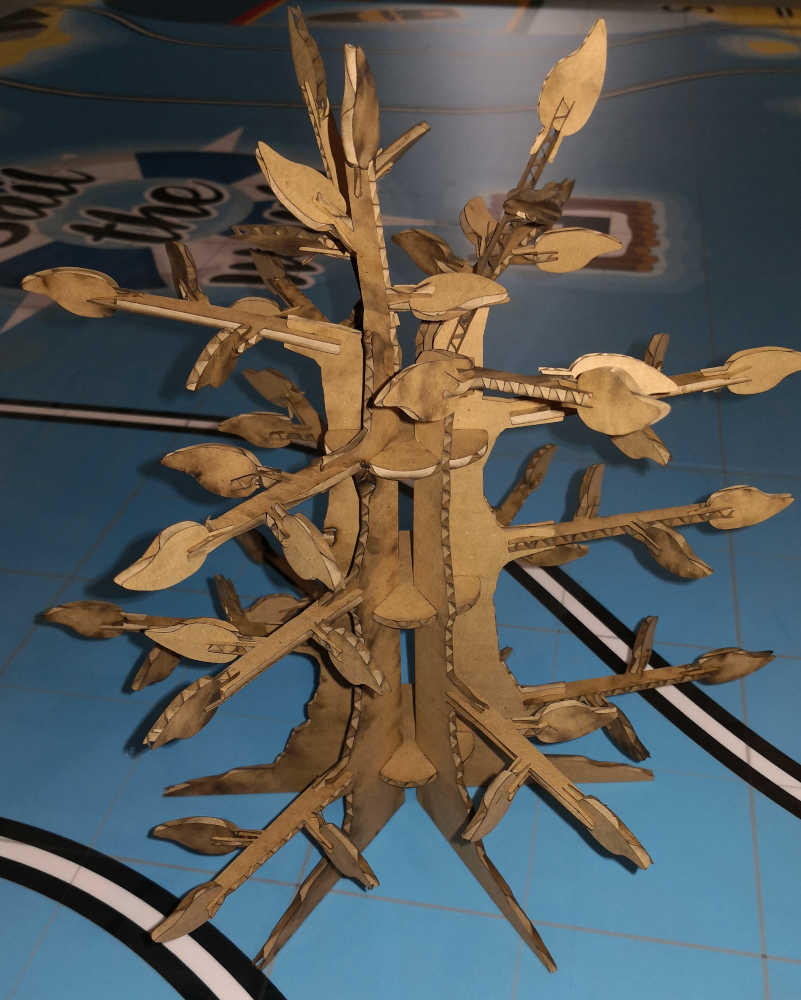
After spend some times locking what are already made in the priors years, i decide to make a Press-fit Tree kit.
Go work on Fusion360.
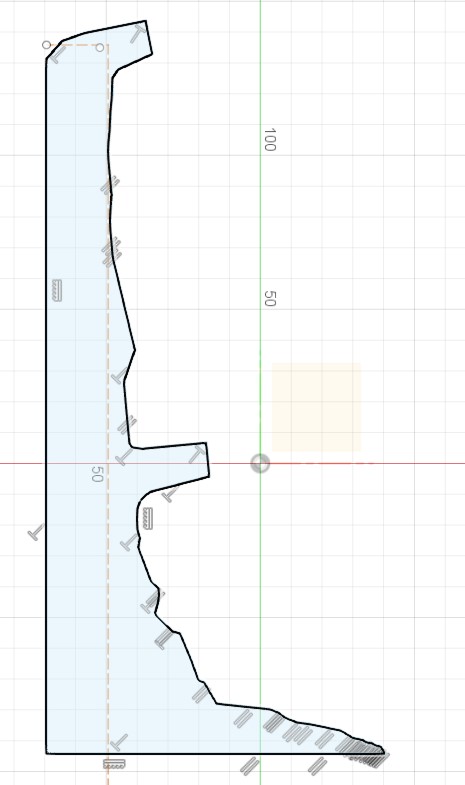
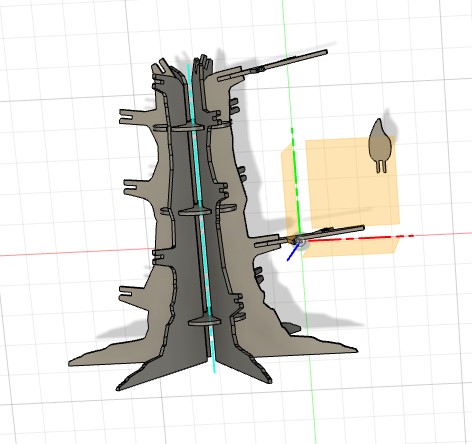
The Tree is made of 5 different parts:
- 2 different kind of trunk (x3 for the all trunk).
- A body assembler x3 for made the Trunck pieces fit together.
- A Branch Modele.
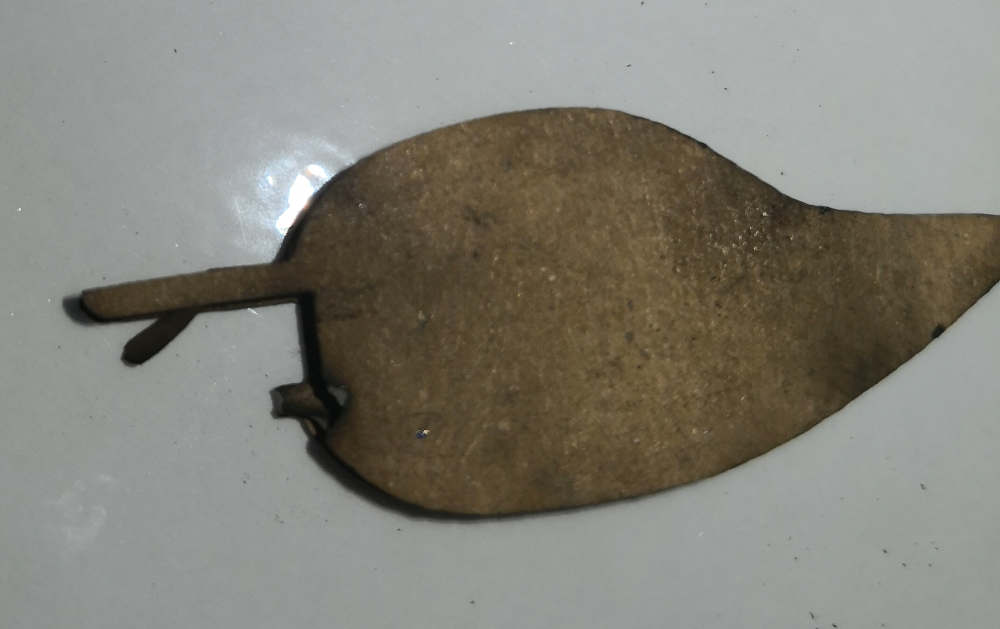
- A leaf Model.
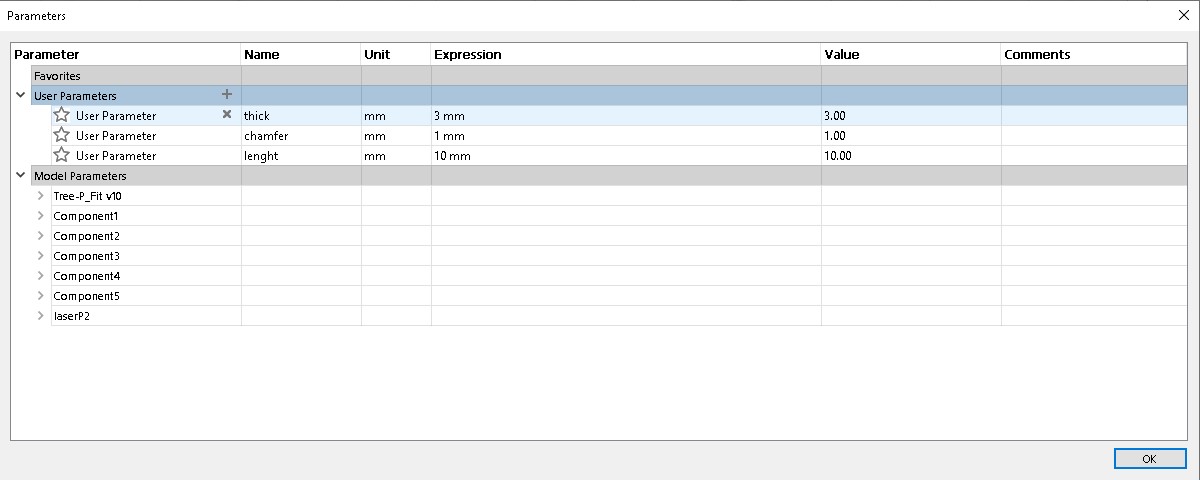
I have the posibility to change quickly some parts of the tree, like the thickness of used material, the lenght i want for leaf insertion or the size of the chamfers, using parametric design;
To do this just go on Modify -> Change Parameters. You could see parametrics cotations with the fx before the value of the cotations.
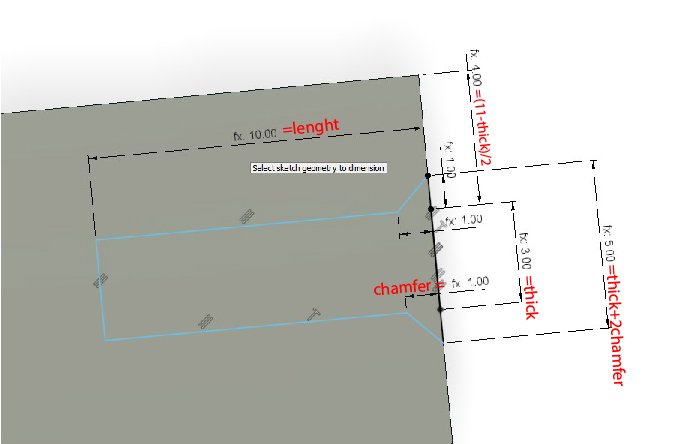
All the jonction are made with chamfer-joints.
After doing some test, i dimension all my joint with the thickness of my material, the laser Kerf made a perfect joint clearance.
For easyly export my Fusion360 work to SVG, i install the Shaper Utilities from the "Autodesk APP Store"

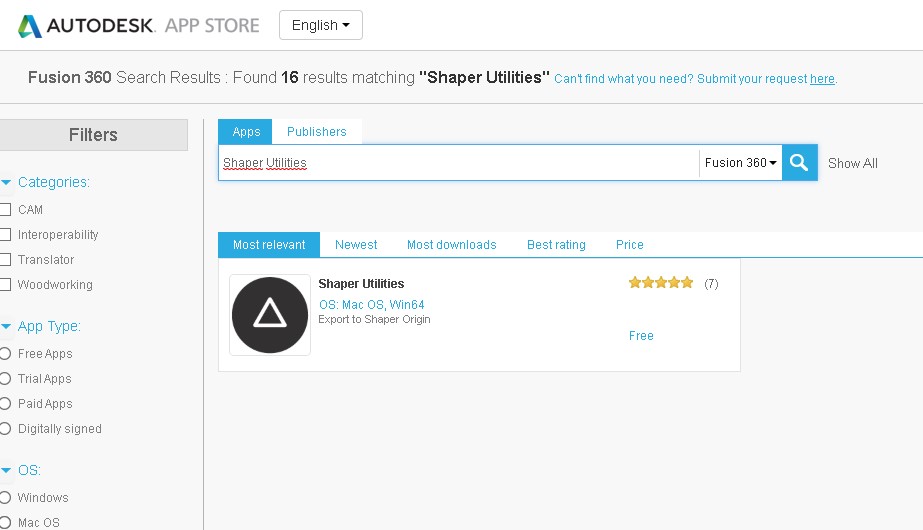
After dowloading & installing it let's go see how to use.
First, On your fusion design go to tool & after click on the "Shapper origin" logo.
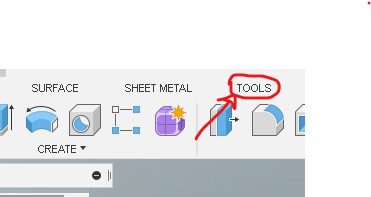
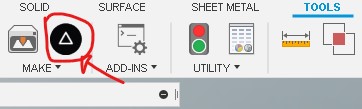
After just select the face you want to export,click on "OK" & save it were you want.


After some Copy / Past for manage the Cut of the laser, on the lasercut software. Go make a Tree !!!
Setting use = (Speed 90 mm/s | 20 % power)
The Tree Files here.
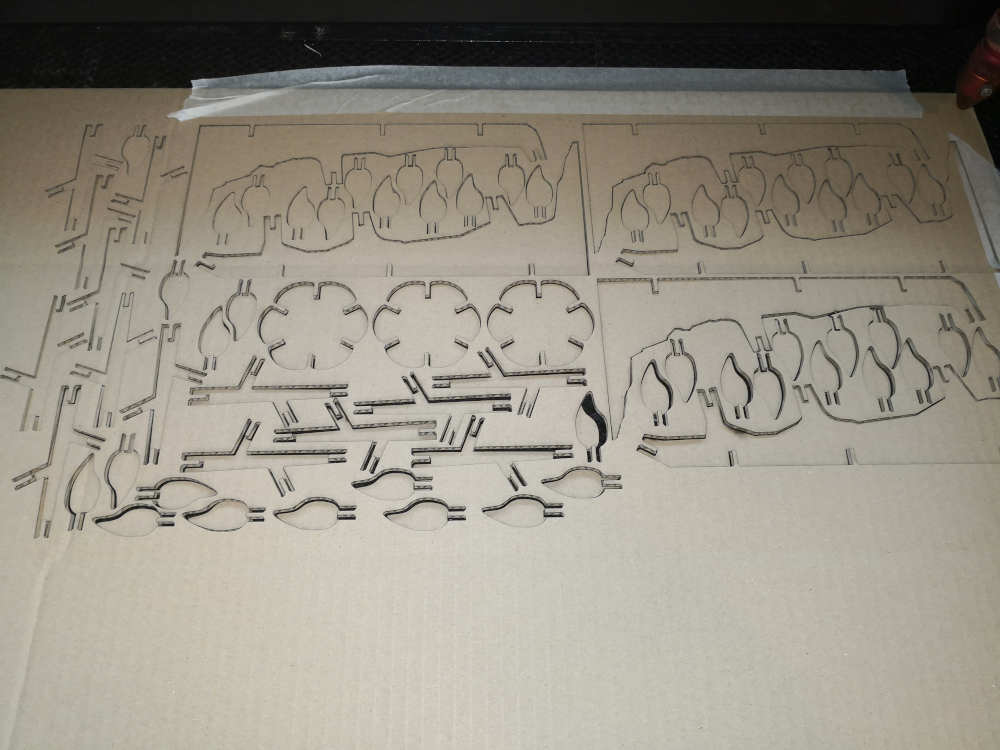
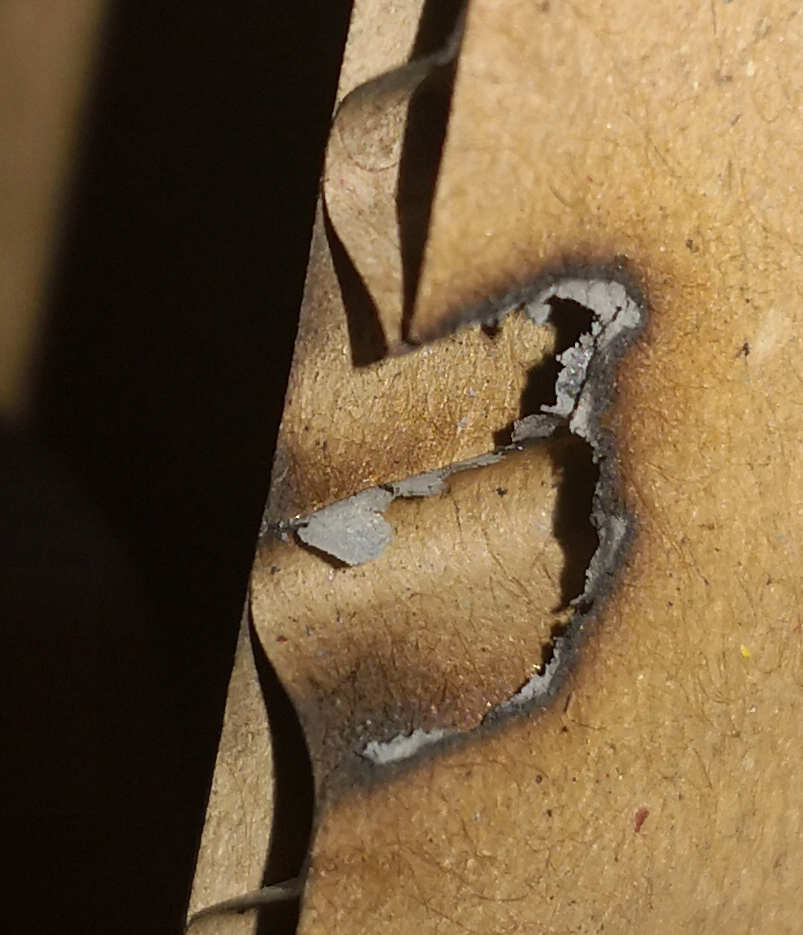
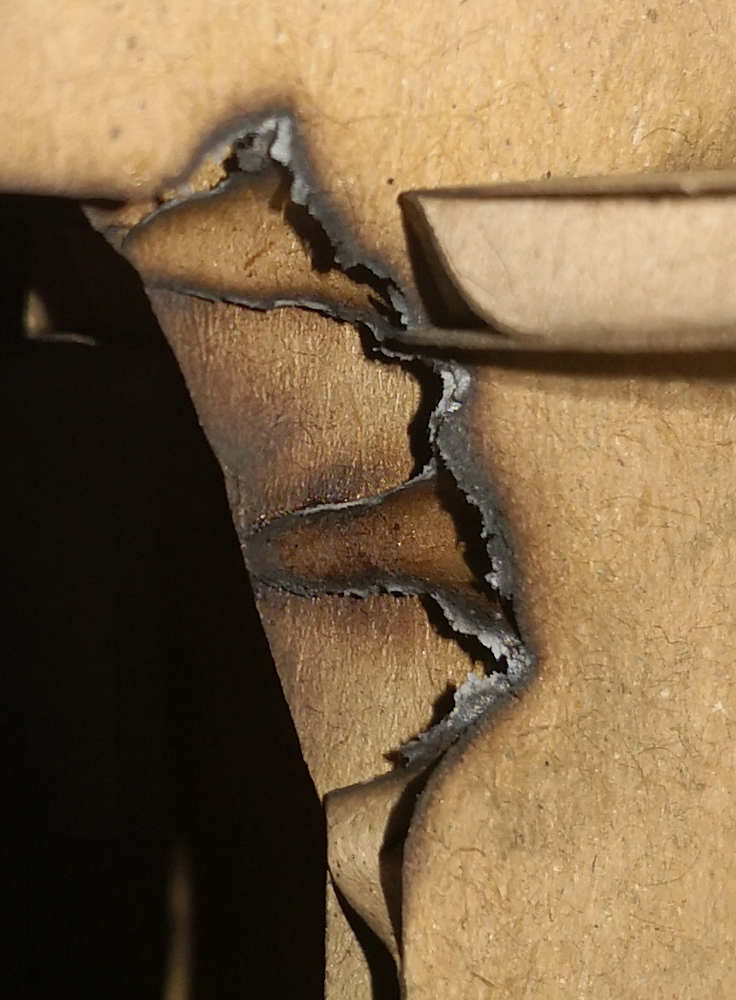
OUPS !!!
On my multy Copy / Paste i made one i don't move of is original copy. Result : the laser beam do a second time the run & the cardboard realy don't like this.
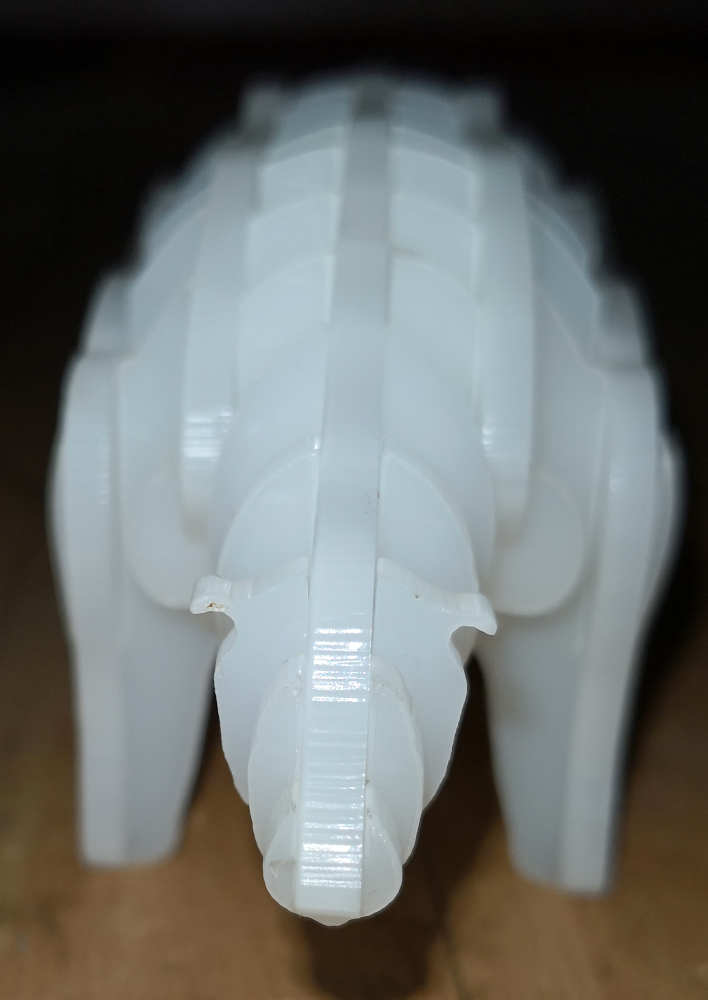
A Polar-Bear for my son.
Cause my son is a big induction on my work, i decide to make him a press-fit Polar-bear puzzle.
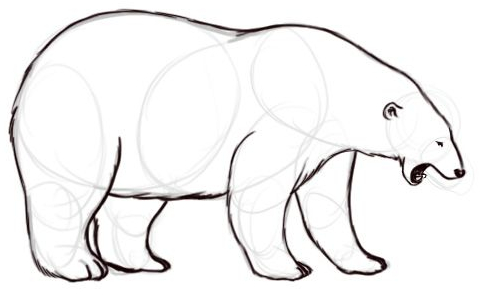
I start by modelize, on Scultris, using a draw i found for teaching him how to draw a polar-bear.
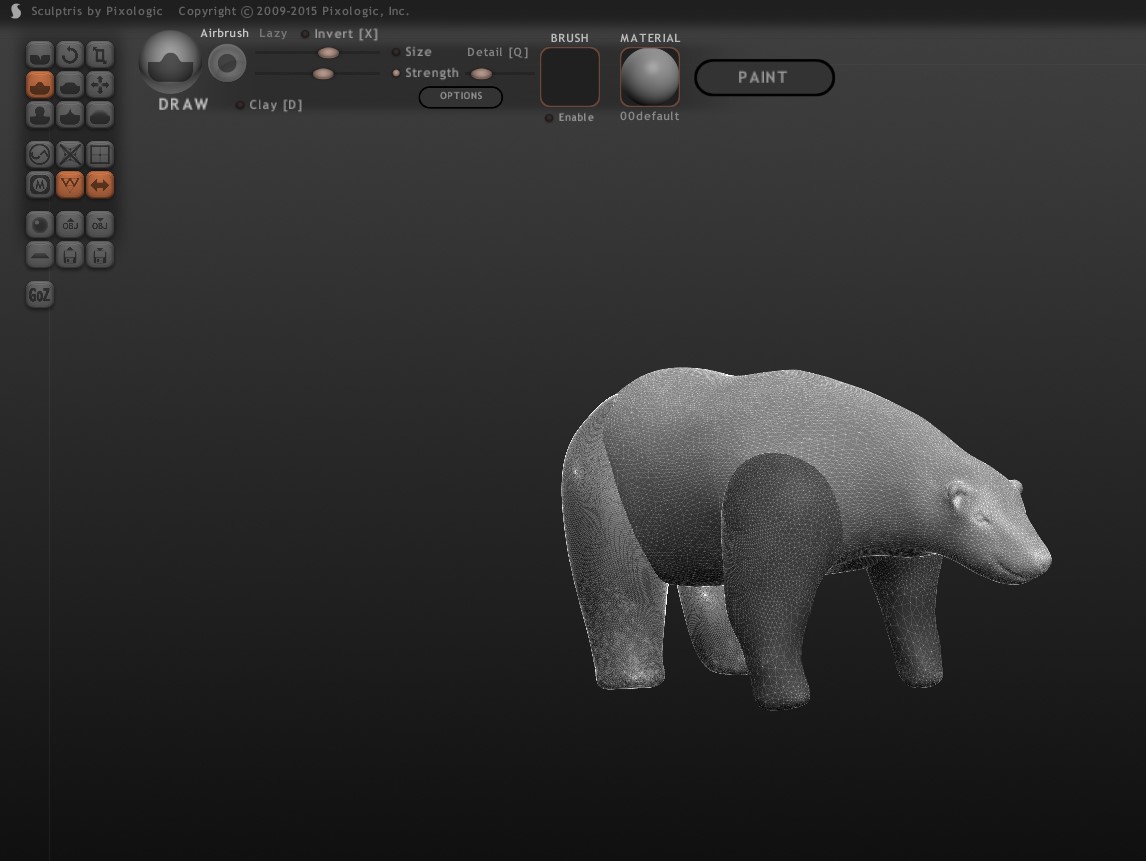
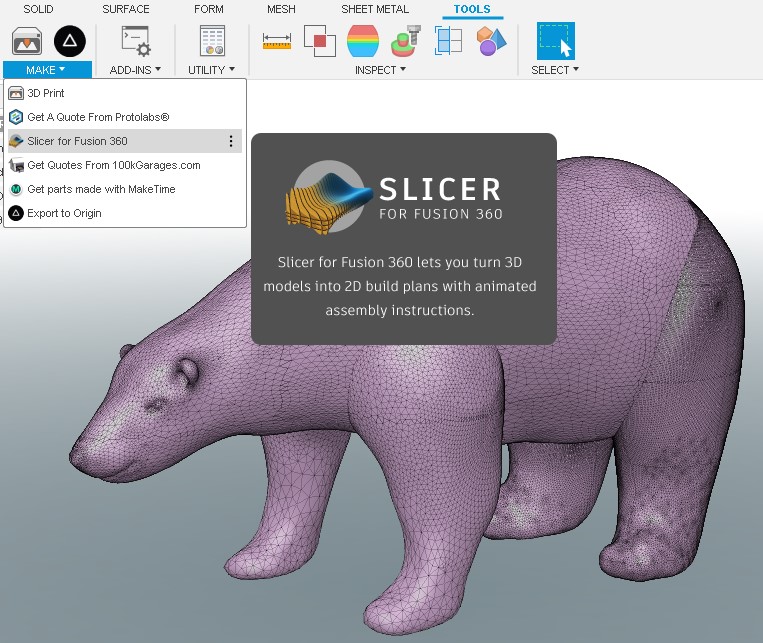
After that i export it in OBJ format & Using Slicer for Fusion360 from the Fusion "APPstore", i could easily make the my laser work-sheet.

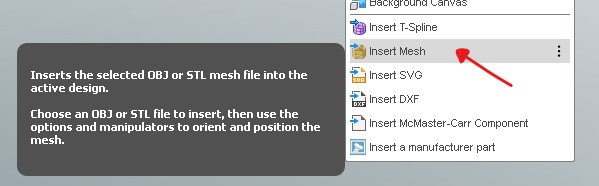
First dowload & install, after in fusion go to insert=> insert Mesh for import your .OBJ & go to tool => make => slicer for fusion 360
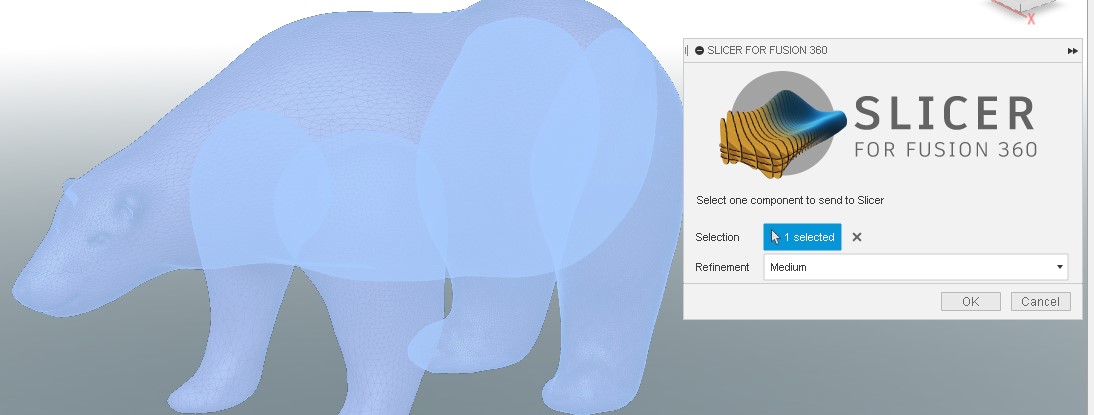
Chose your object & a refinement option & go to slicer.
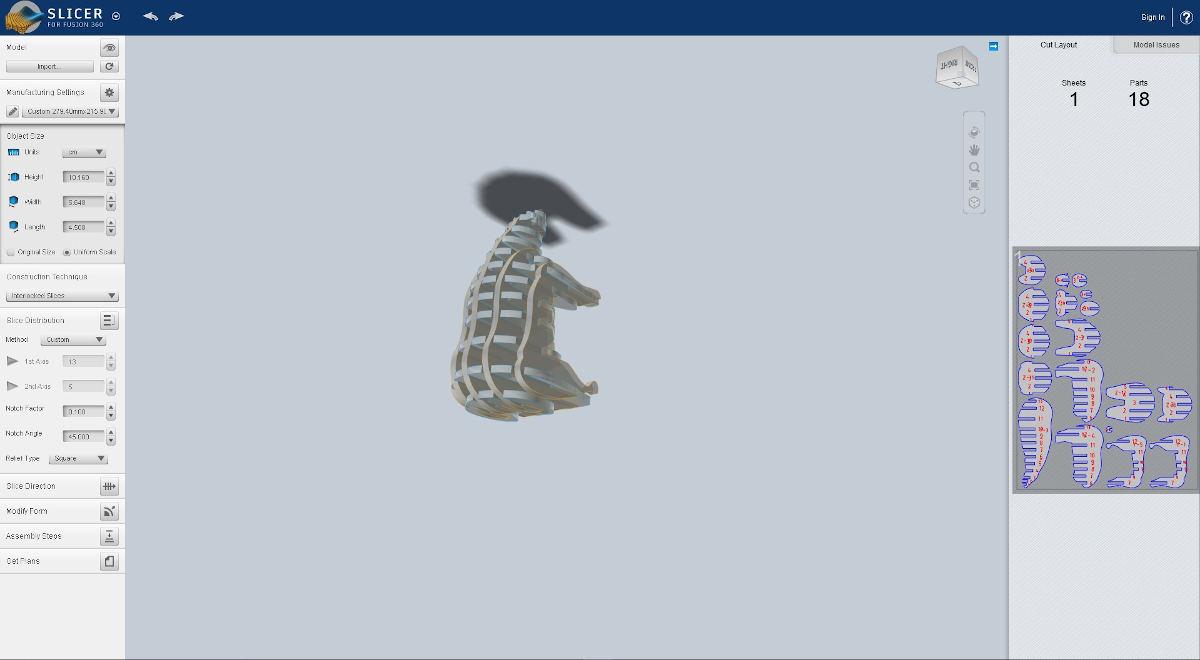
On the slicer add- on you have a many option first part for dimensioning & a scroll menu to chose a slicing technique.
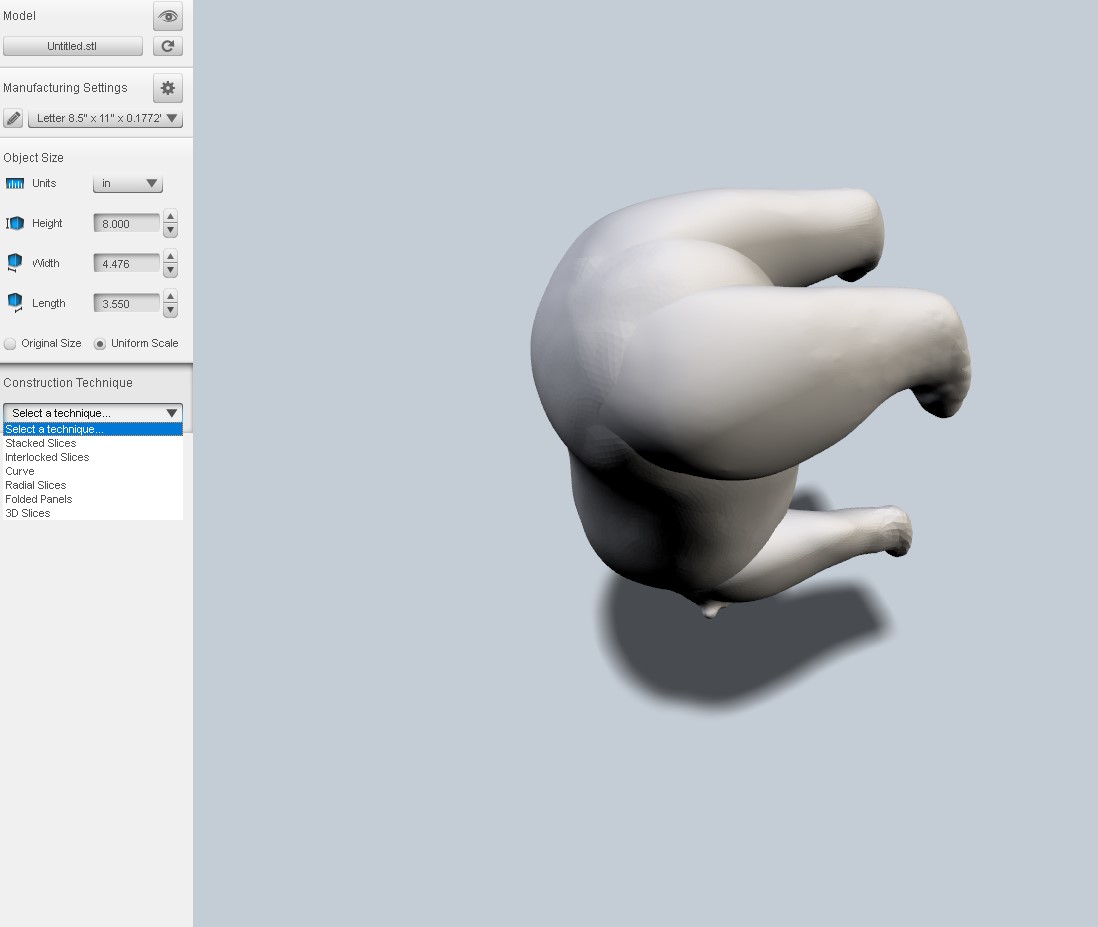
- Stacked slices = made slice of the thickness of your materials to glue in a stacked construction.(for lasser cutter or angular stacked construction)
- Interlocked Slice = made slide on two different axis to create the structure. (Is the one i chose.)
- Curve = made slice folowing a selected curve.
- Radial = made slice from a central axis
- Folded Panel = create a folded plan to create the structure with external paper folded.
- 3D slice = just cute the model in different 3D slice for milling
I chose to work with the interlocked systeme, but i start with a lot of RED slices, due to the form and the place of slice they cant all fit on first try ^^
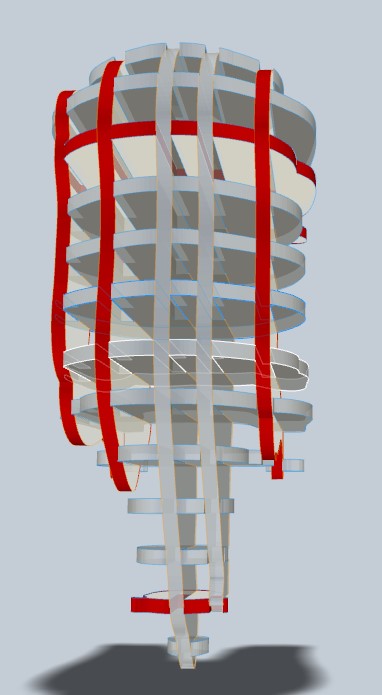
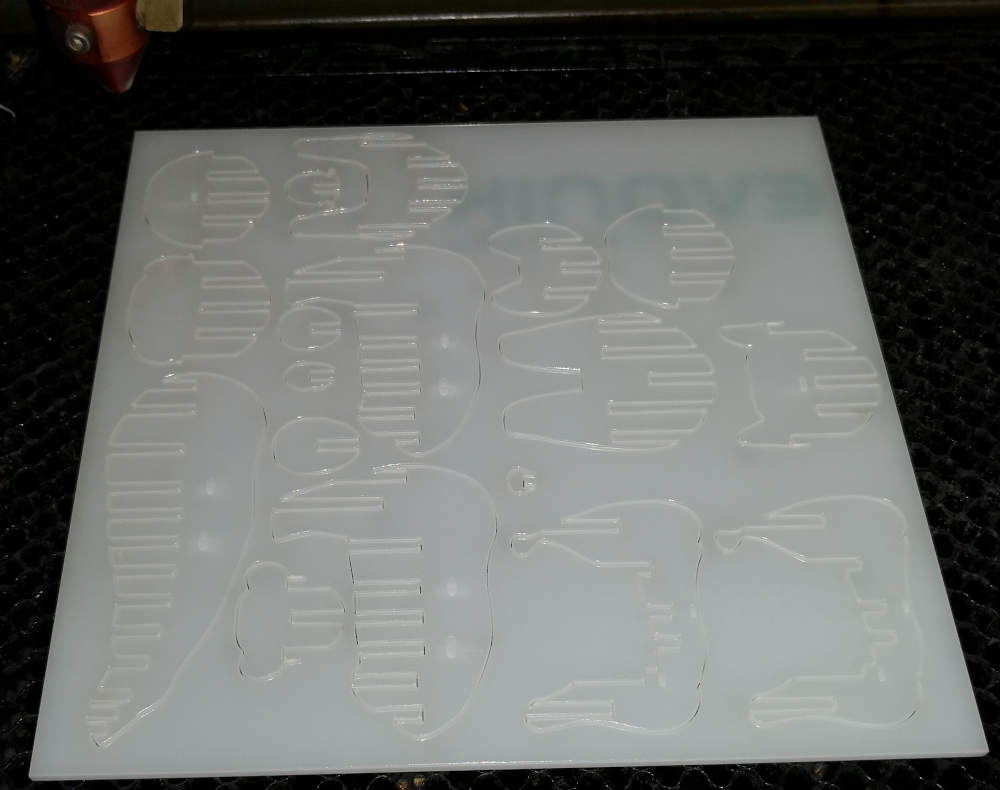
After moving some slice for have the good contact everywhere i could choose get plan & dirrectly export on DXF for cut ^^
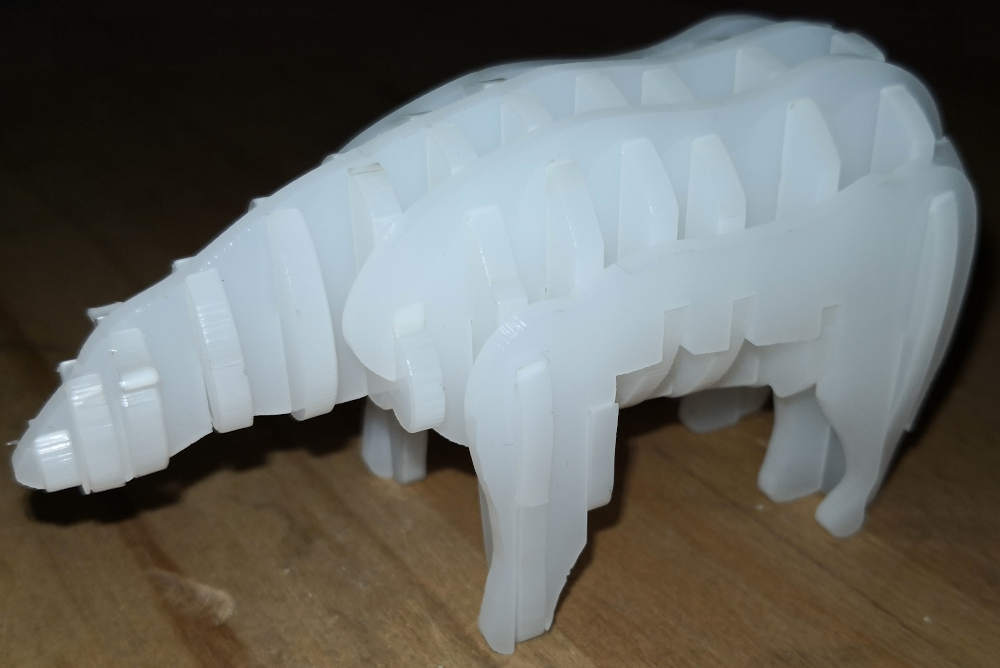
I chose to cut it on some 3mm white PMMA, thats perfect for a polar-bear. Waiting "Jade" do the cut & assemble the puzzle, that fit perfectly. I like It. ^^
Setting use = (Speed 15 mm/s | 35 % power)
For the assemblage "SLICER for Fusion" give you directly a diaporama step by step ^^
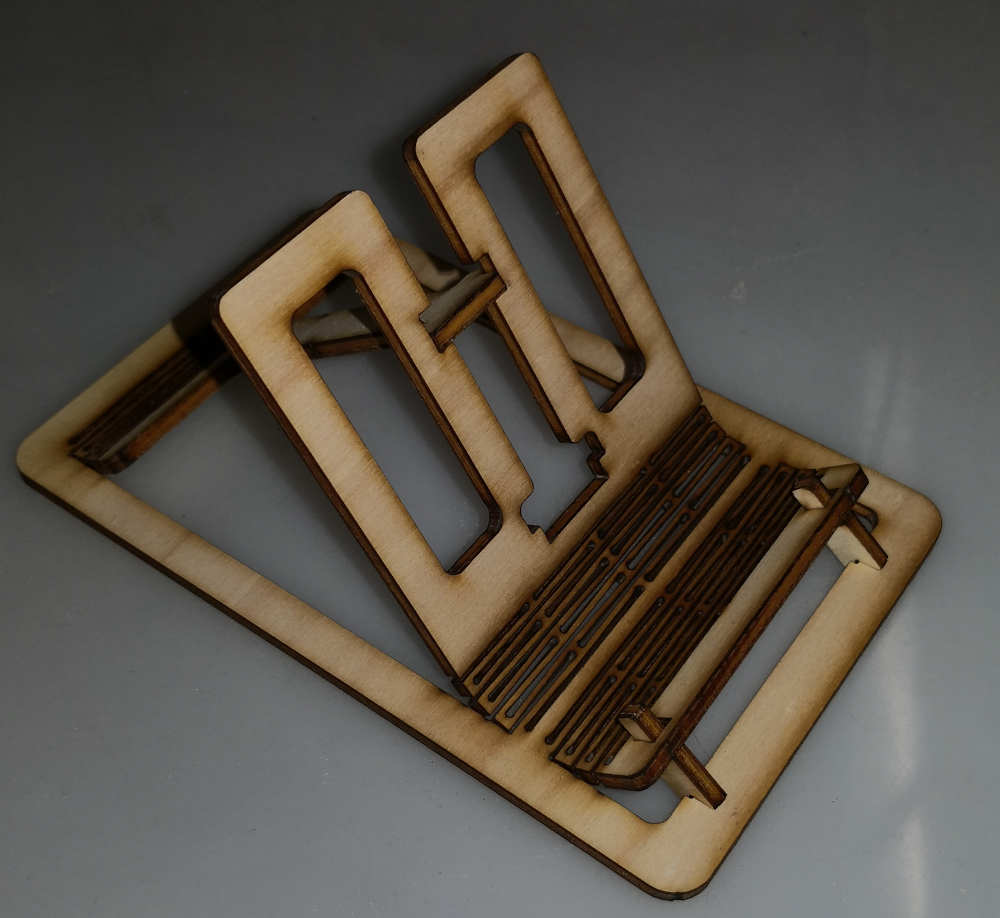
Trying to be Flatless....
I cut a phone stand i find on the "Wyn_Griffith" Thingiverse to see the result
Setting use = (Speed 90 mm/s | 30 % power)
I liked the result and try to make myself a parametrique pocket-stuff-Bowl.
But i have to improve the living hinge technique on my design.
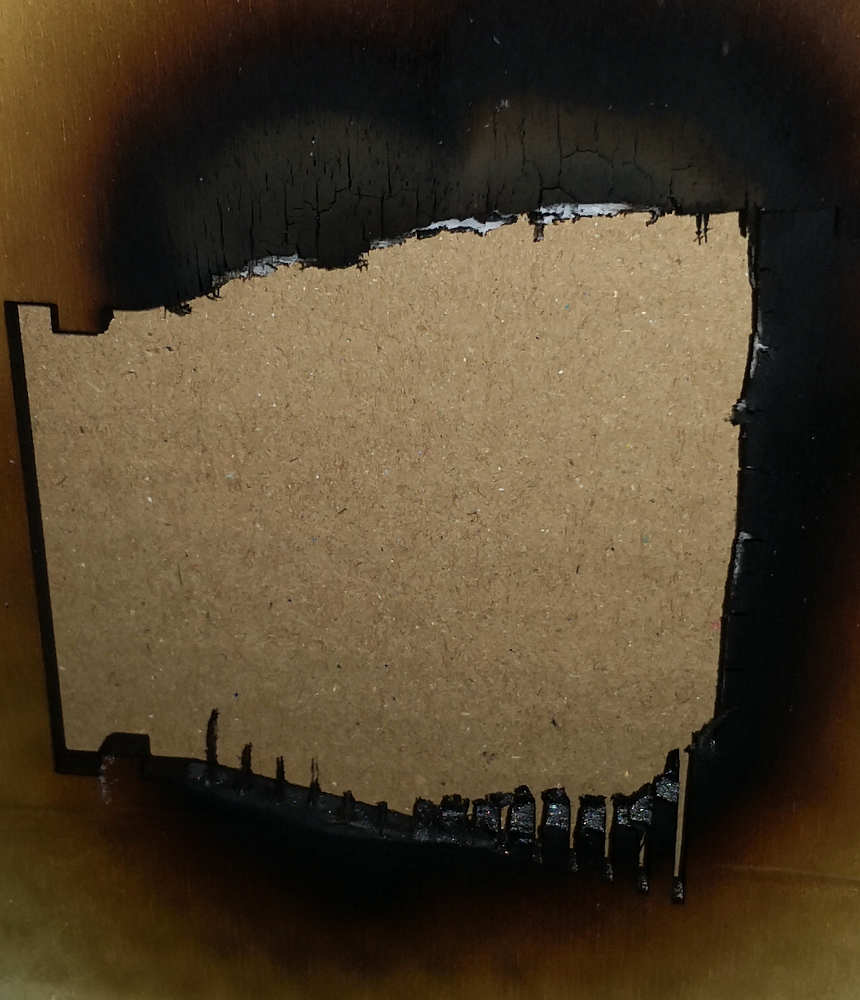
CRITICAL FAILFirst try make me some Charcoal....
Living edge of 1.2mm on a piece of 5 mm plywood
Setting use = (Speed 15 mm/s | 35 % power)